Topic
This article describes how to restore a file to a Microsoft Azure VM using Datto Cloud SIRIS.
Environment
Datto Continuity for Microsoft Azure (DCMA)
Description
The File Restore recovery method for the Cloud SIRIS lets you restore and recover protected Microsoft Azure files.
Procedure
1. On your Cloud SIRIS' Recovery Launchpad page, click the File Restore option.
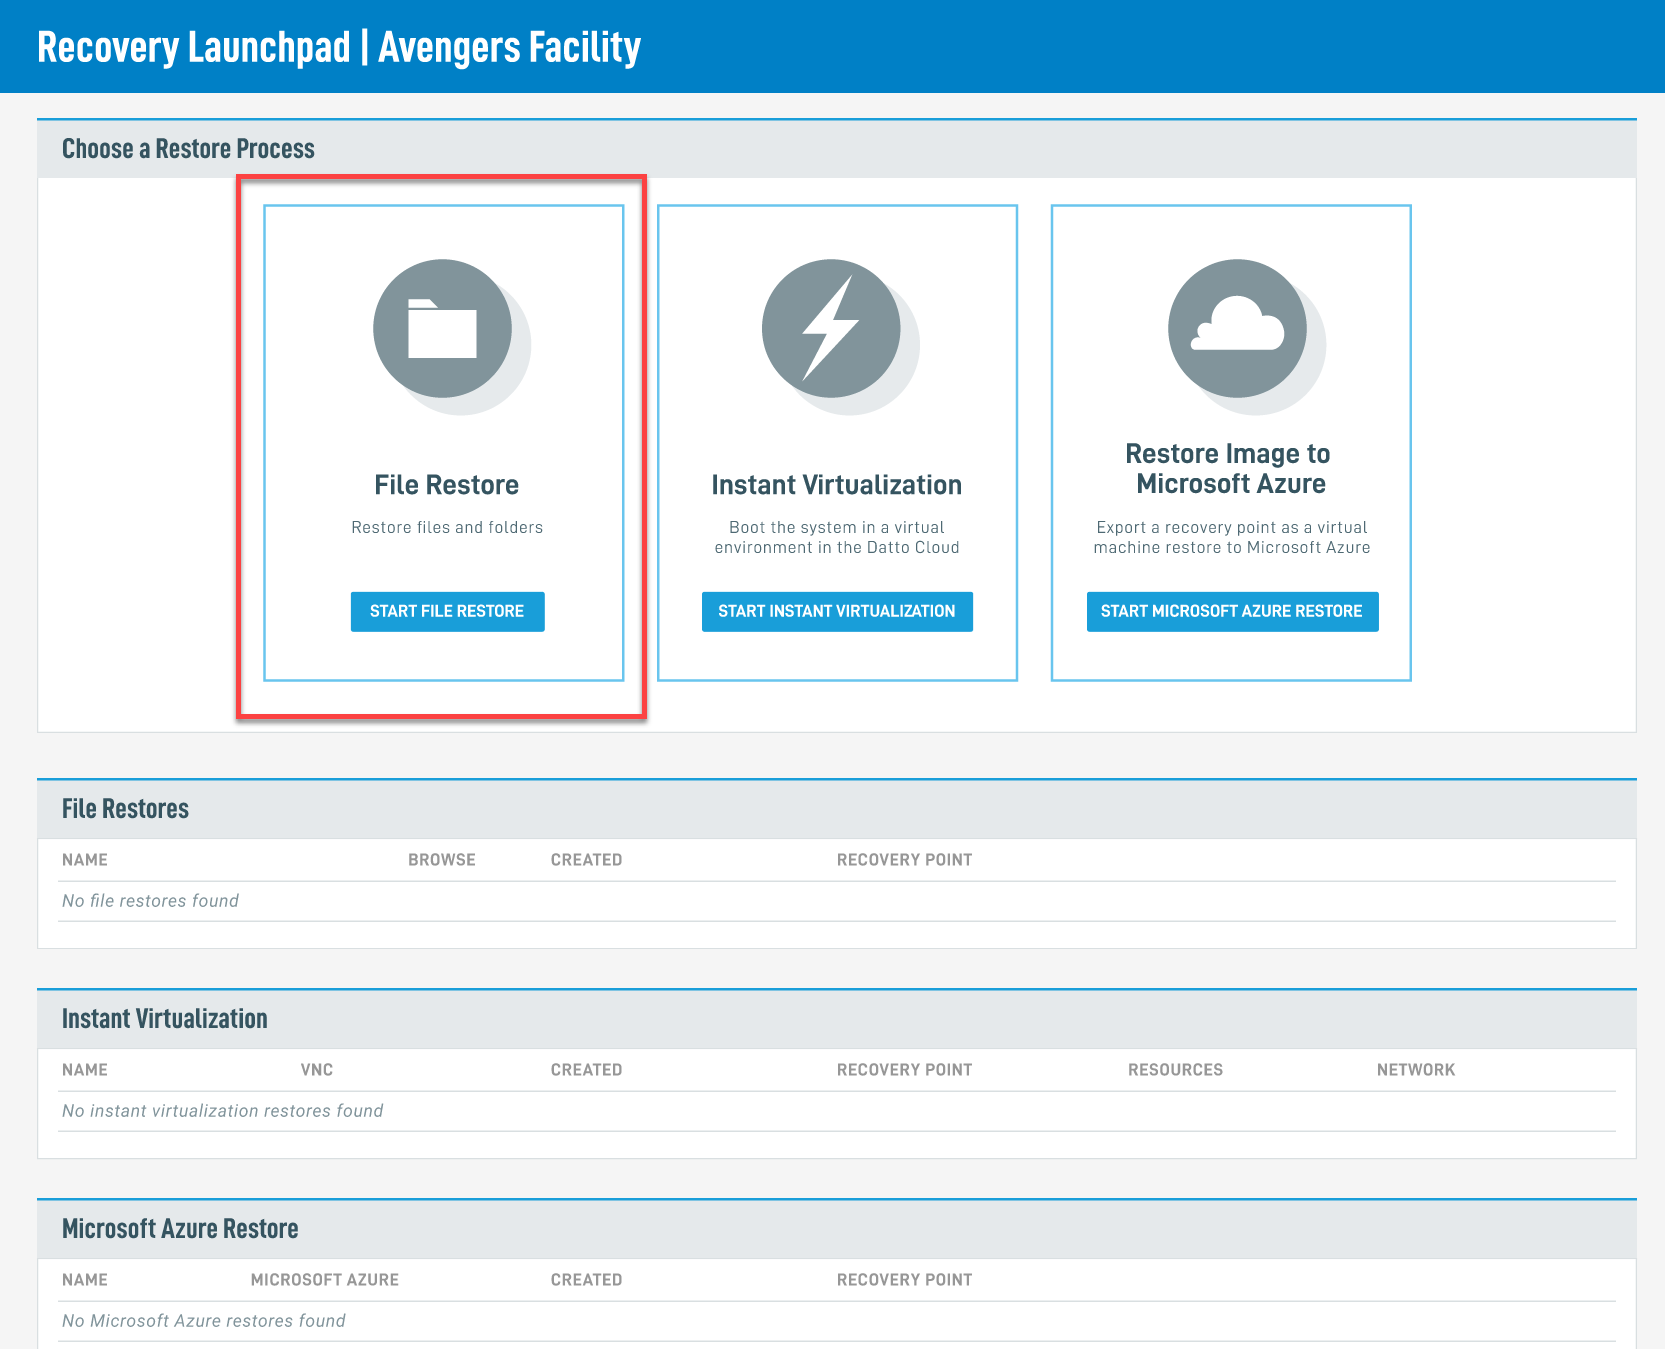 Figure 1: The File Restore option in the Recovery Launchpad
2. Select the system from which you wish to restore, then click the CREATE FILE RESTORE button.
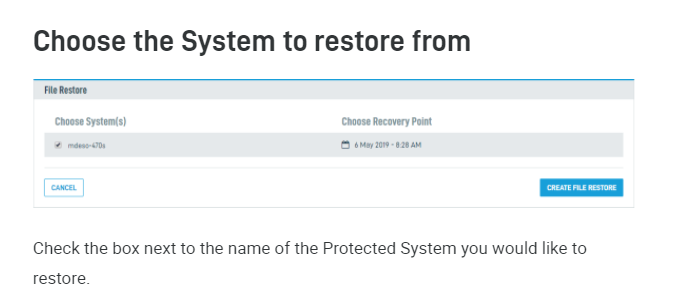 Figure 2: System selection
3. Choose the date and time of your restore point, then click the SELECT button.
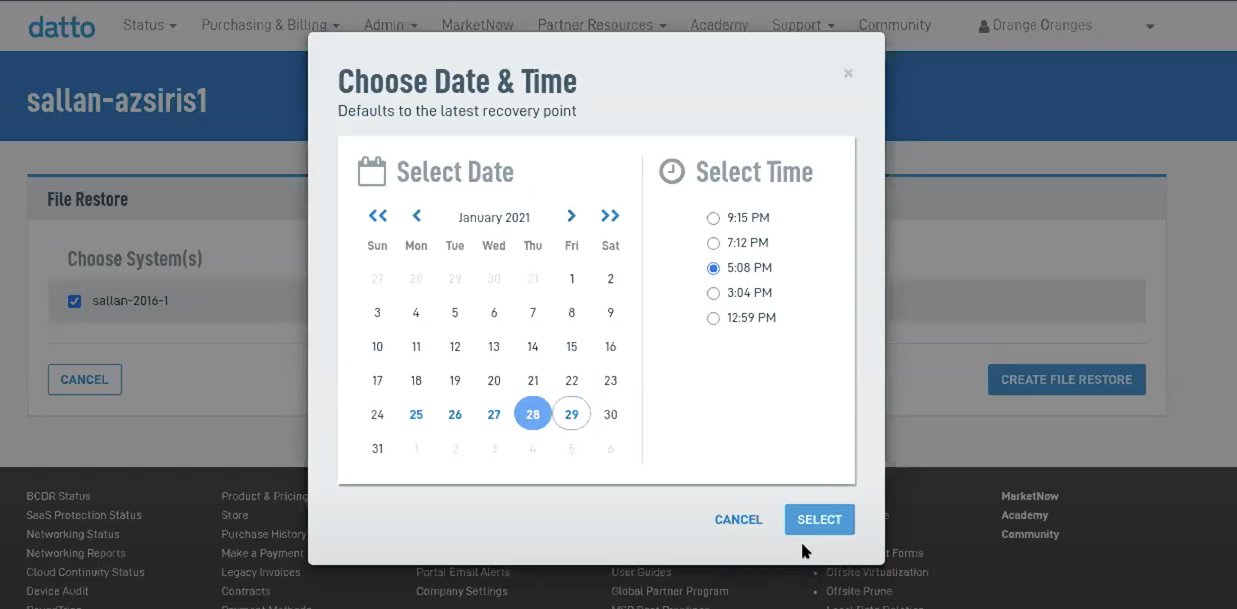 Figure 3: Restore point selection
The restore will build.
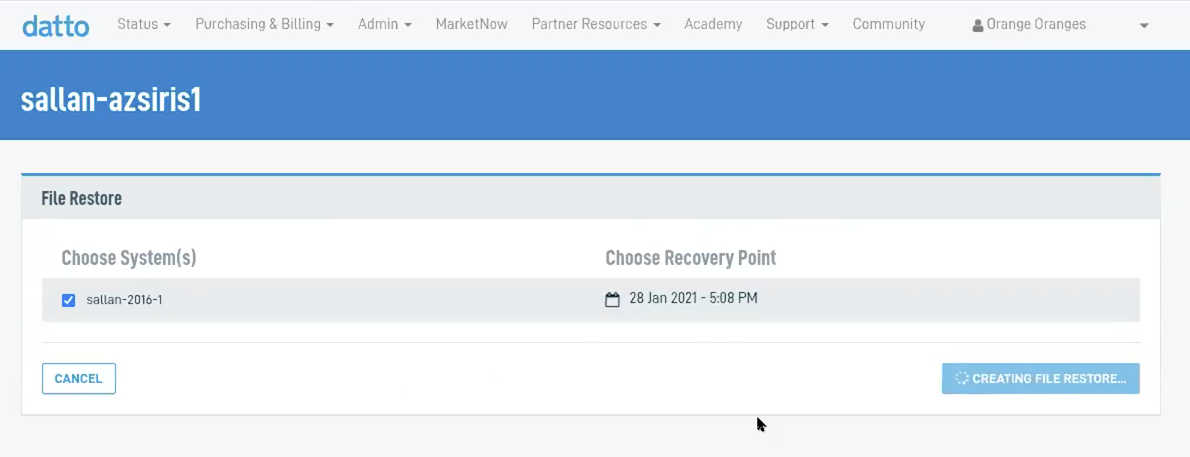 Figure 4: Restore in progress
4. After the restore builds and mounts, You'll be redirected to the Recovery Launchpad where you will see an entry for the restore you just created on the File Restores card. Click the cloud icon under Browse.

Figure 5: The File Restores card
Recovering files from the restore
When the restore completes, the system will let you connect to it via the SFTP client of your choice, or through a web-based file browser.
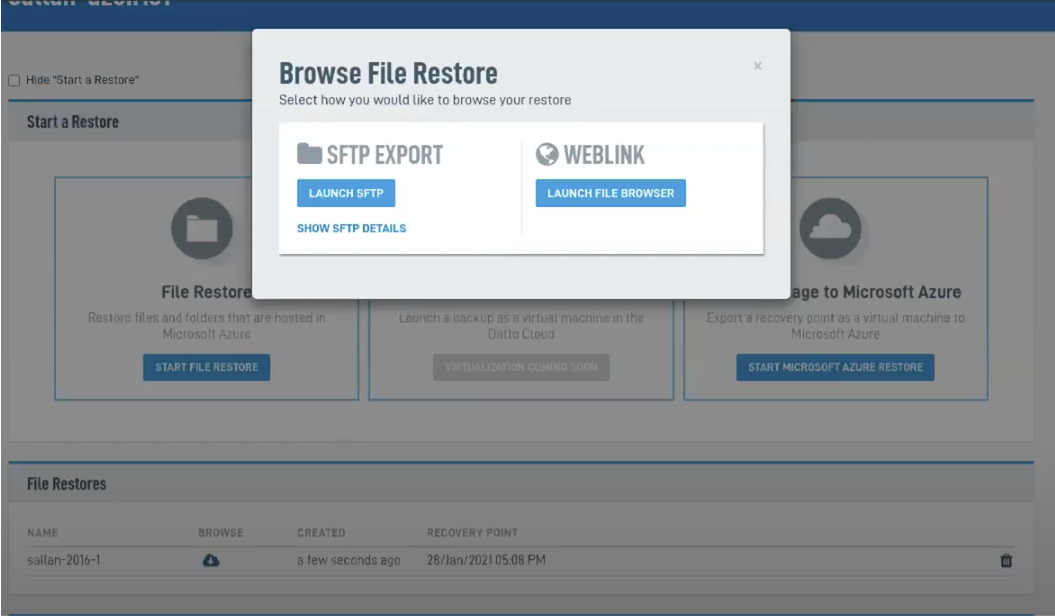 Figure 6: Browse file restore
Connecting to the restore via SFTP
If you have an SFTP client installed and integrated with your web browser, selecting the Launch SFTP option will automatically connect the client to your cloud restore and launch your SFTP client.
The Launch SFTP feature has been tested for compatibility with WinSCP. Other file browsers are untested and may produce unreliable results.
To manually configure your SFTP client, click Show SFTP Details. You can use this information to configure any client capable of completing the connection process.
Connecting to the restore via Weblink
If you click Launch File Browser, you will see an interactive file directory of your restore. This window functions like a desktop browser. Clicking a directory's name will navigate you deeper into the file structure.
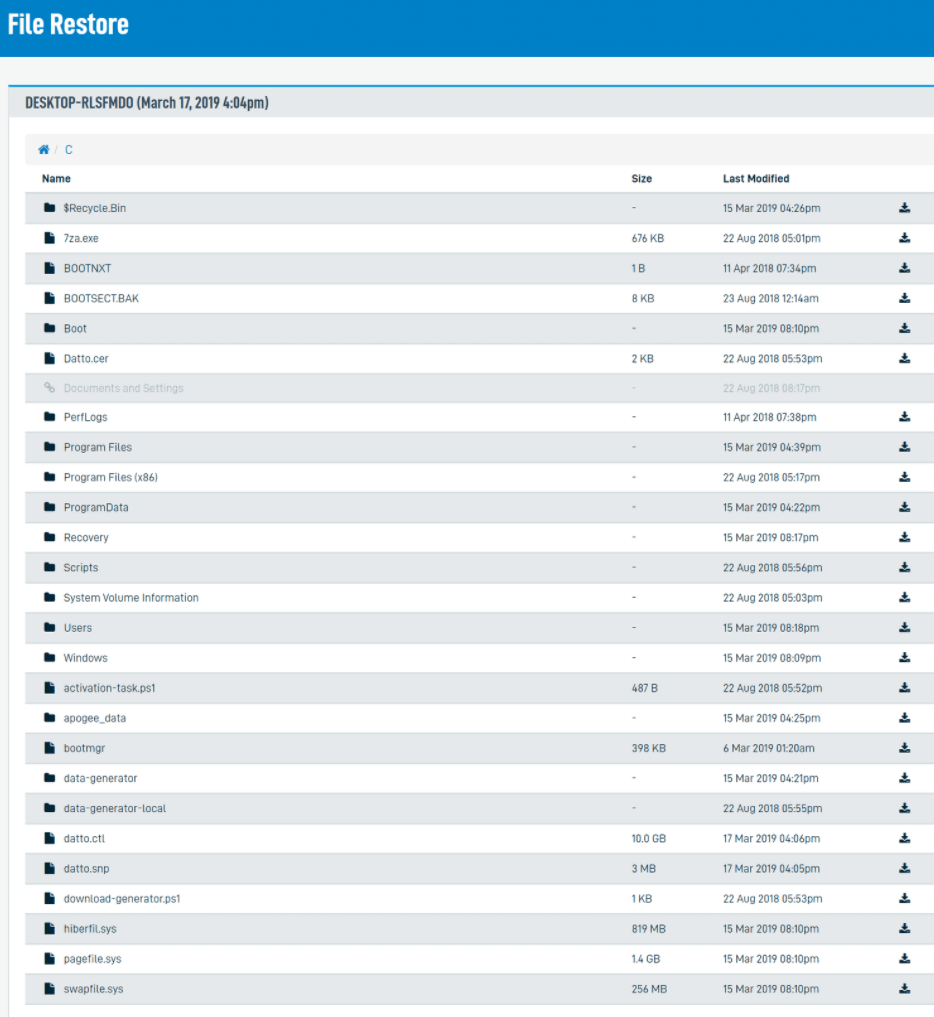
Figure 7: The file browser directory
To download a single file, click the download icon to the right of its Last Modified date.
To download all of a directory's contents, click the Download icon to the right of the directory's Last Modified date. The File Restore utility will download the selection as a ZIP file.